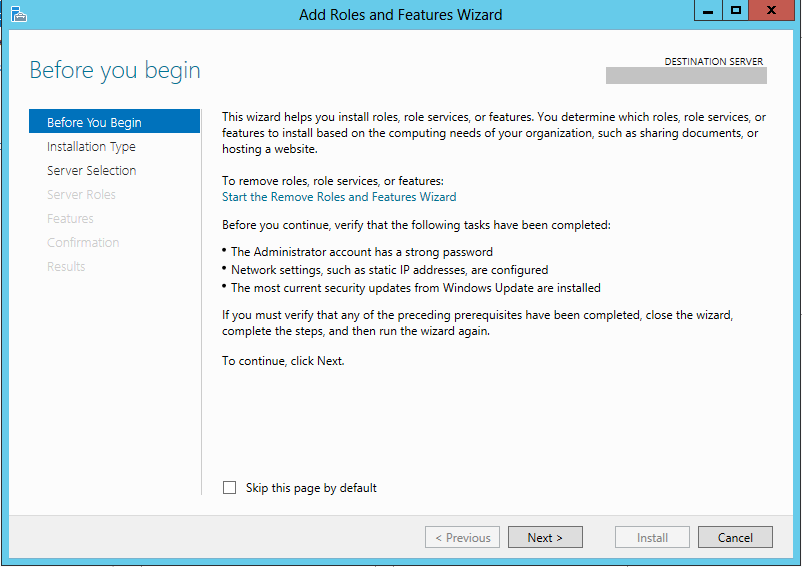
1. Add Role from Server Manager
2. Role-based or feature-based installation

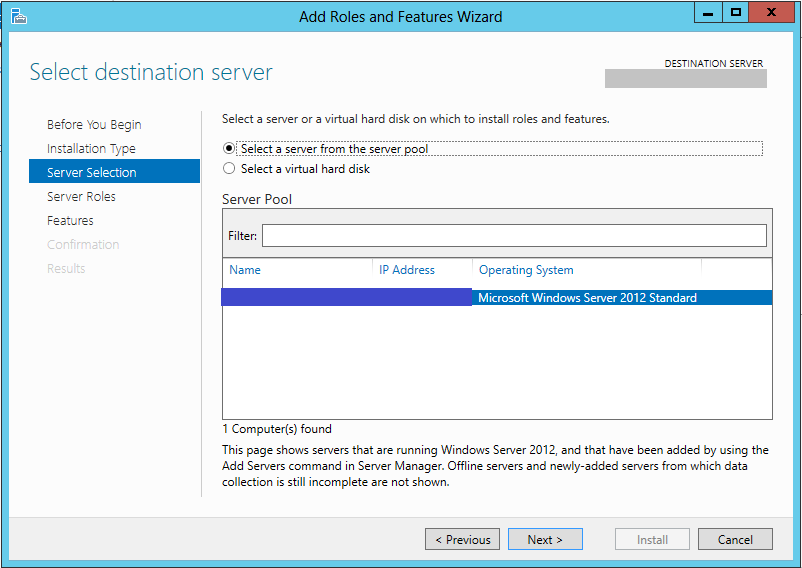
3. Select a server from the server pool
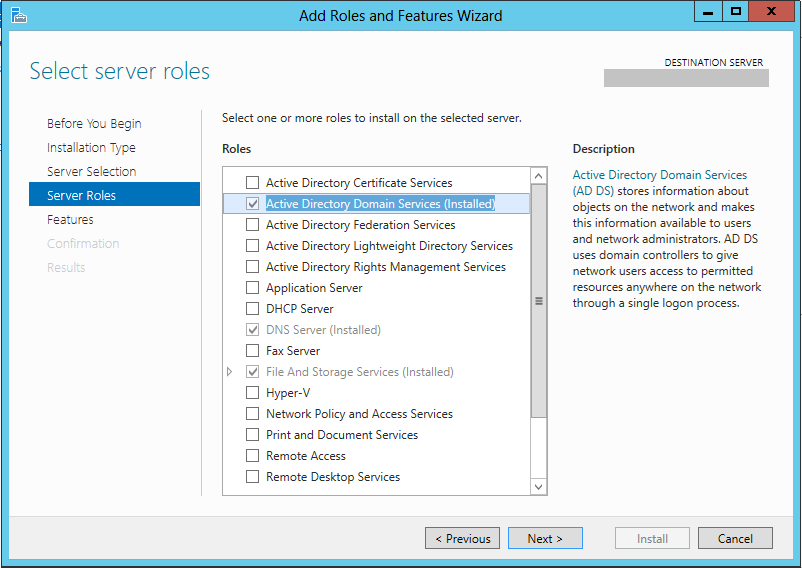
4. Select Active Directory Domain Services and DNS Server.
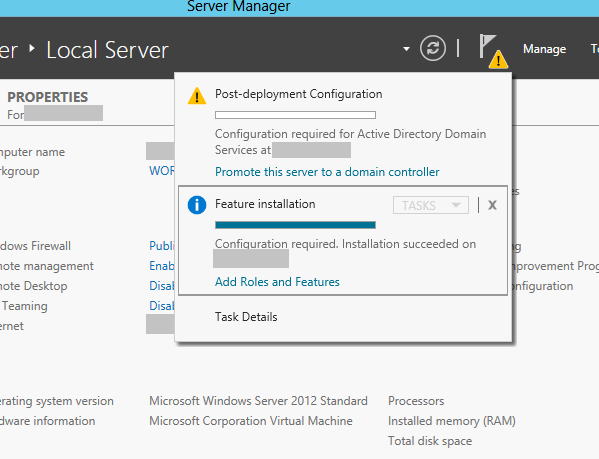
5. Once installed, from Notifications Menu, select Promote this server to a domain controller
6. Add a new Forest
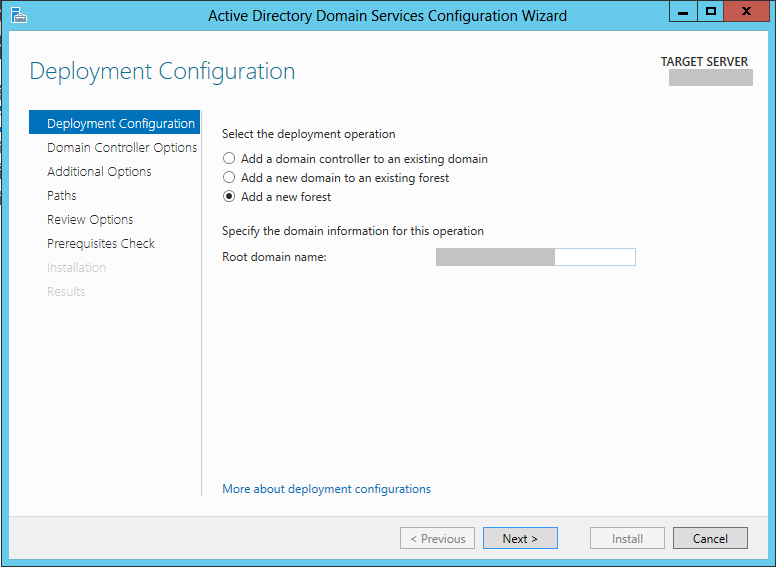
7. Write a password
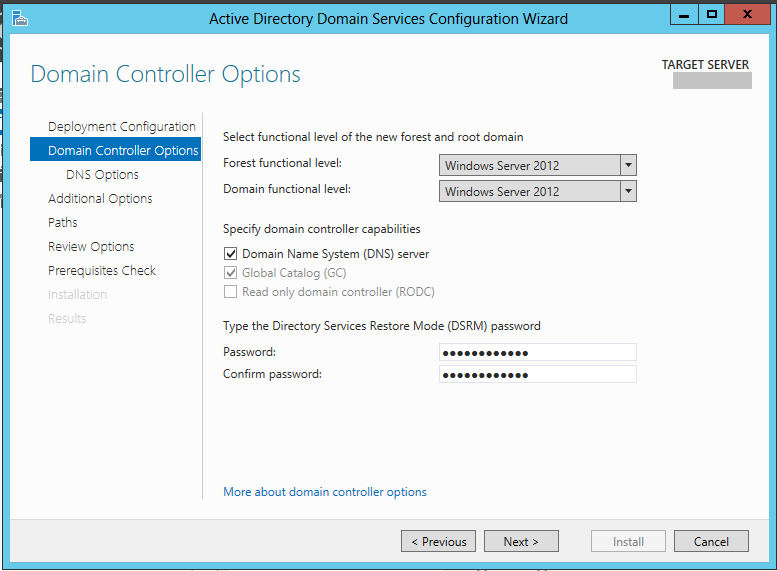
8. Next
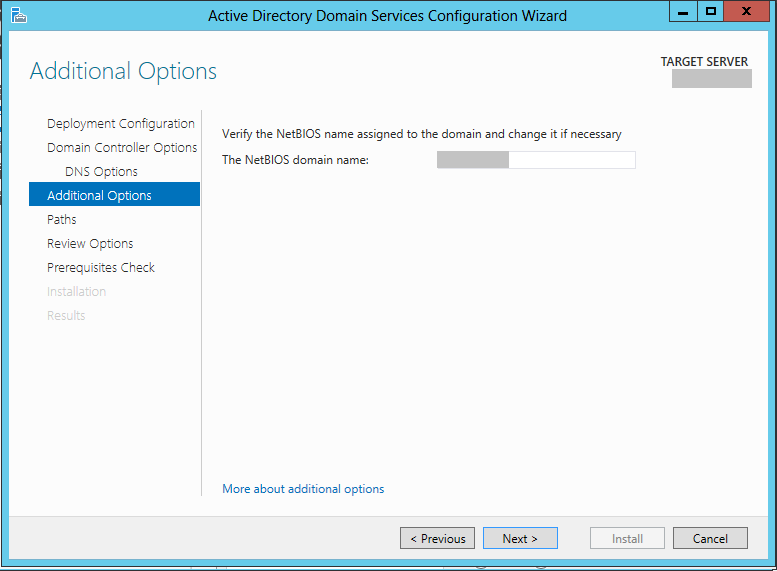
9. Check the NetBIOS domain name (it should appear automatically)
10. Change (if you need to) default paths
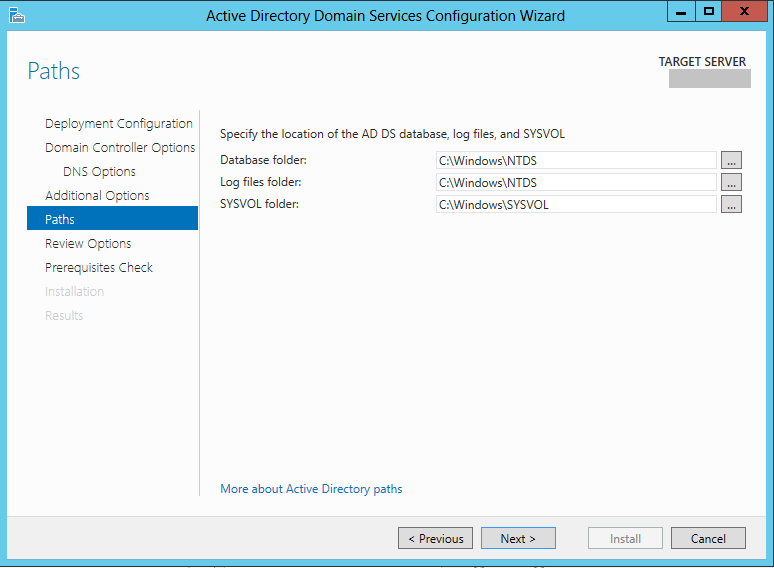
11. Next
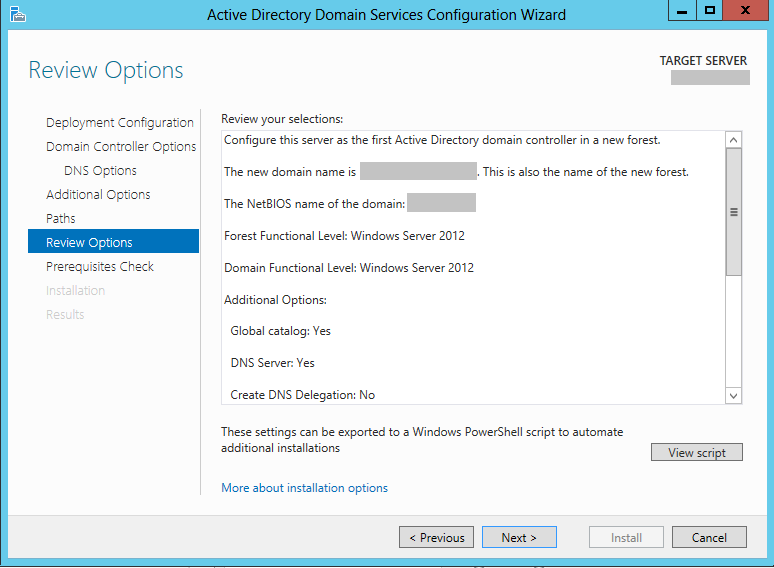
12. Install

13. Close
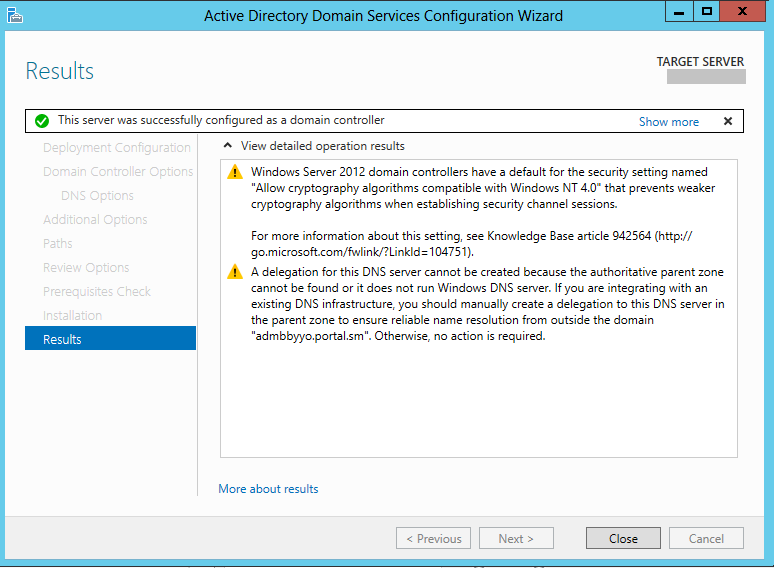
14. Restart the machine
No Responses